3 Hidden Tricks Of Android Smartphone You Probably Didnt Know!
7 things you are not aware that your Android smartphone can do
While many people have Android smartphones, but not many users are aware how powerful their devices can be. In this article, we present you a few hacks to make optimal use of your Android smartphone that you may not know.
1. Facial recognition lock screen
Worried about someone hacking your screen lock? Do you keep forgetting your passwords very often?Don’t you worry; you can set a lock on your Android smartphone with facial recognition.

Just add a photo, set a “Presence Check” for added security and you are ready to go. Take your photo indoors where the light is not too dim or bright for best results.
2. Sync up your Android to a computer/tablet
Whenever you buy an Android smartphone, you will be compelled to set up a Google Gmail account.

Do use it because of the endless advantages. Open up a Gmail account and sync everything you can with it. You can sync music, videos, and pictures as well as email and calendar from your computer to your Android phone or even to a cloud. You may also use the sync function over a Wi-Fi network without the use of wires. In other words, every time you get a new phone, all you have to just do is login into your Gmail account and you will find all your documents there.
3. Record your calls with ACR
ACR (All Call Recorder) is a phone call recorder app that let’s you to record phone conversations on your phone. You can easily store the conversation in your smartphone’s memory whenever you make the call or someone calls you.

You can select the folder from the app’s options, where you want to save the audio file, as well as the format in which you would like to save it. You can even select a cloud-based storage service such as Dropbox or Google Drive, so that they sync with your recordings. However, this function is only available for the paid version of the app.


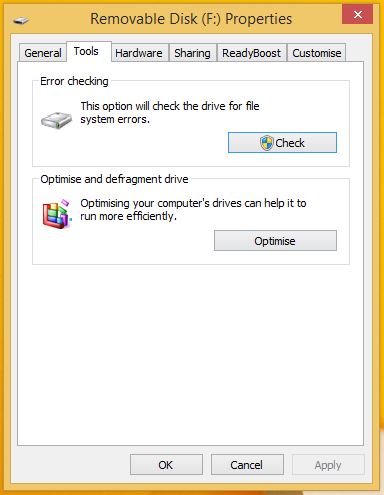
 Note: Don’t forget to close all the applications accessing the pen drive.